Pages
▼
Thursday, August 16, 2018
{ Color Street Nail Polish Strips }
Hi everyone :)
So I have something really cool to share with you today. If you've been following my blog, or if you know me at all, you know that I love nail polish.
My nails are always painted, I'm always changing it up, and I can't stop buying nail polish. Just really and I mean REALLY love it.
What I don't love is the drying time, or the fact that every.single.time I paint my nails, within a minute, I either have to go to the bathroom, or I have to do something, or grab something and I pretty much end up ruining a nail or two. Without fail!!!
I also don't like getting my nails done at the salon. I have not had long nails for a very long time, because I am a homemaker and my hands are constantly in water, or scrubbing, or cooking or cleaning and I just can't do it with long nails. I know other women can and do, and all the power to them, but it doesn't work for me. I find that they get in the way.
So I don't ever get them done. Well, lies, I did get them done a few months ago and stunning as they were, within an hour of coming home, I had taken out my nail clippers and clipped them short. Yeah, waste of money.
When my friend Jen contacted me and asked if I would like to try out Color Street Nail Polish Strips, I immediately said yes. I'm looking for something quick, easy and long lasting, and am always on the hunt for the prettiest and quickest way to get my nails done.
So you're probably wondering, what exactly is Color Street and why Nail Polish strips?
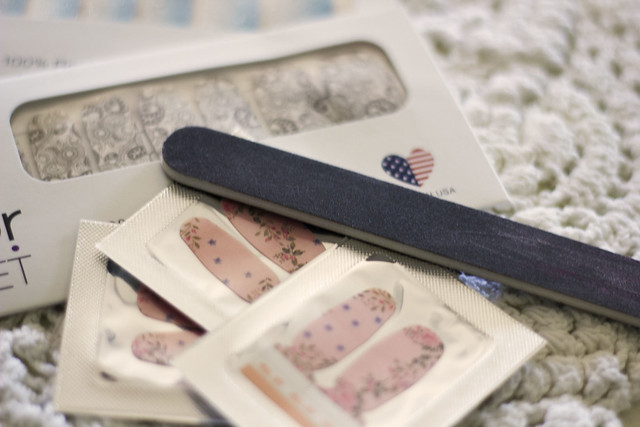
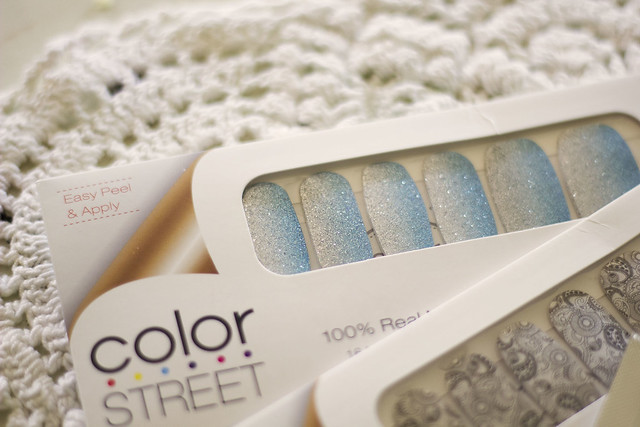
The package is super cute, and I also noticed that one of the things it said on it, right at the left top corner, was they it was easy to peel and apply. On the back it states that there is no drying needed so you just apply and go.
I will admit that I was a bit reluctant, surely it couldn't be THAT easy, there had to be a catch?
So I picked out the ones I wanted, which were the little pink flowery samples Jen sent specifically with me in mind, she sure knows me well :)
Ladies, I am here to tell you that these were the easiest, quickest nails I have ever done, in my life.
The process was SO incredibly easy, it honestly shocked me.
So basically, you pick the nail strip you want to use. They come in different sizes so you can best choose the one to fit your nails. They're quite long too, so I found that I was able to cut them in half and still have strips left for another application.
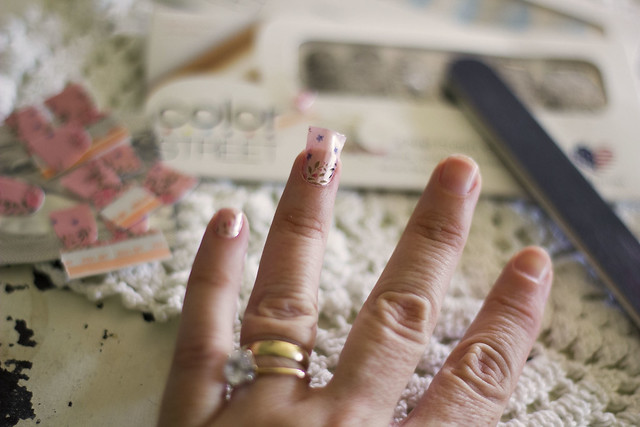
Now you've picked the nail strip you want to use. You peel off the top transparent layer, place it on your nail. I found it easier to place them right up against my cuticle, pressed down the middle first and then gently pulled the strip on each side to fit the nail, and now comes the crazy simple part.
I thought that there would be some magic trick to make the strip stay put. I was wrong.
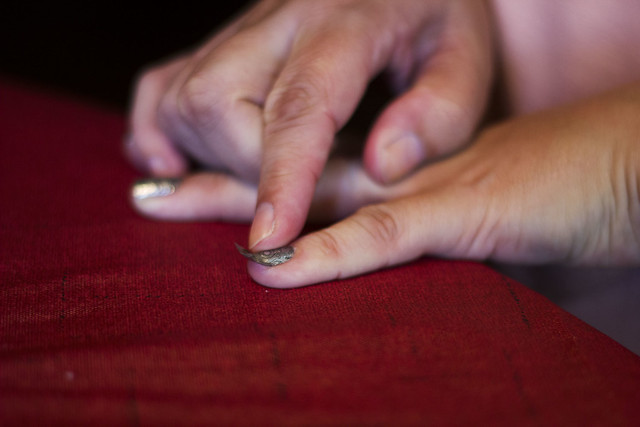
I looked online and different videos, just for a quick idea on how best to apply these, and though the official way to do it is using a nail file to file away the excess, there are other ways to quickly trim the polish strip, and the one I used was by simply pressing the strip down on my nail and making sure it was smooth, then I used my thumb nail from my opposing hand to gently fold the nail polish strip over my nail, I then pinched the strip together and tore off the excess. JUST.LIKE.THAT!!!!
That might sound a little confusing, but if you need help, just take a quick look online, there are tons of tutorial videos and you'll understand exactly what I'm doing.
Here, my sister in law was applying the nails to her own hands. It's so easy, she was stunned at how easy it was.
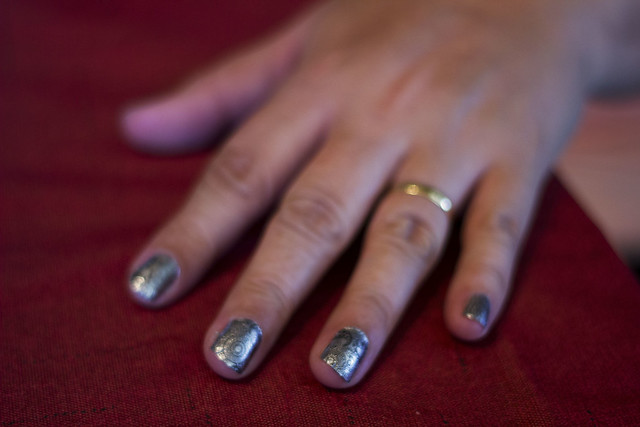
These are her nails right after the applied the strips. She went in afterwards, and using her nails, removed the little excess from the cuticles. I'm serious when I saw that just using your nail, it quickly cuts away at the excess.
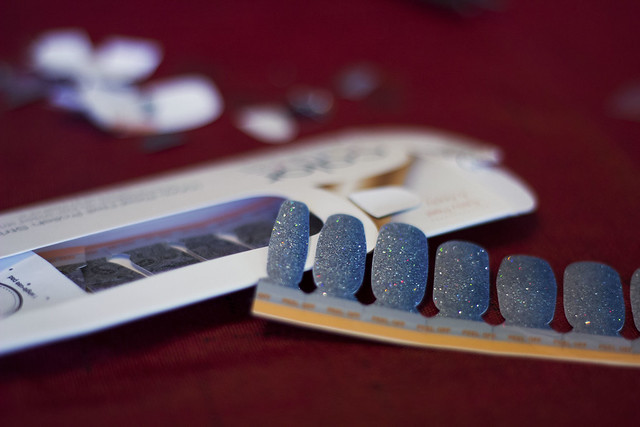
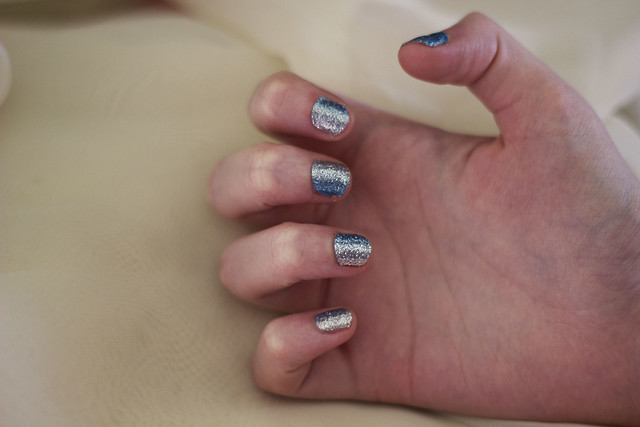
My daughter Jasmine tried them too, she opted for these beautiful blue and silver gradient look. How stunning are those?
Overall, we were so happy with the results, the ease of application and the fact that there are so many pretty designs to pick from.
I left mine on for 2 weeks, and I just did my usual housework, washing dishes, laundry, cleaning etc. I wanted to see how they would hold up, and I was quite pleased to see that they stayed put for me.
I can see some more Nail Polish strips in my future, especially for the holidays or a special occasion where I want to have pretty nails without spending a fortune or having to deal with annoying long fake nails.
Jen has a website all ready for you to pick some and order, if you're so inclined, so go check her out here.
Right now, if you pick any of the French Manicure sets, you buy one and get one free.
The Colors, Glitters and Nail Art Designs, if you buy 3 you get one free, so run on over and check those out too.
Now, if you want to try them out but not with the obligation of buying right away, in case you don't like them, Jen is willing to send out samples for you to try. If that's something you want to do, let me know in the comments down below and I'll be sure to get you and Jen in touch with each other.
Don't forget to tell her I sent you.
Happy Nail Decorating!!!!


No comments:
Post a Comment
Thank you for reading and taking the time to comment. Please be respectful of each other and my blog. Rude comments will be deleted.
Thank you for stopping by, hope you are having a blessed day!
♥Sandra♥